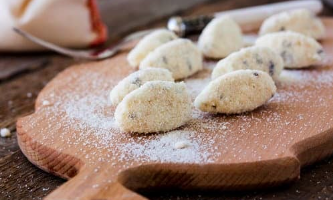
Hey friend, let me tell you about this Gnocchi recipe that I am absolutely obsessed with! It’s ridiculously easy to whip up and the results? Chef’s kiss! Seriously, it’s so good that folks might start wondering if you’ve got a secret Italian nonna who’s been schooling you in the art of pasta perfection. Or maybe they’ll think you jetted off to Italy for a quick culinary sesh with someone else’s nonna—yep, it’s that legit and I say, keep em guessing!
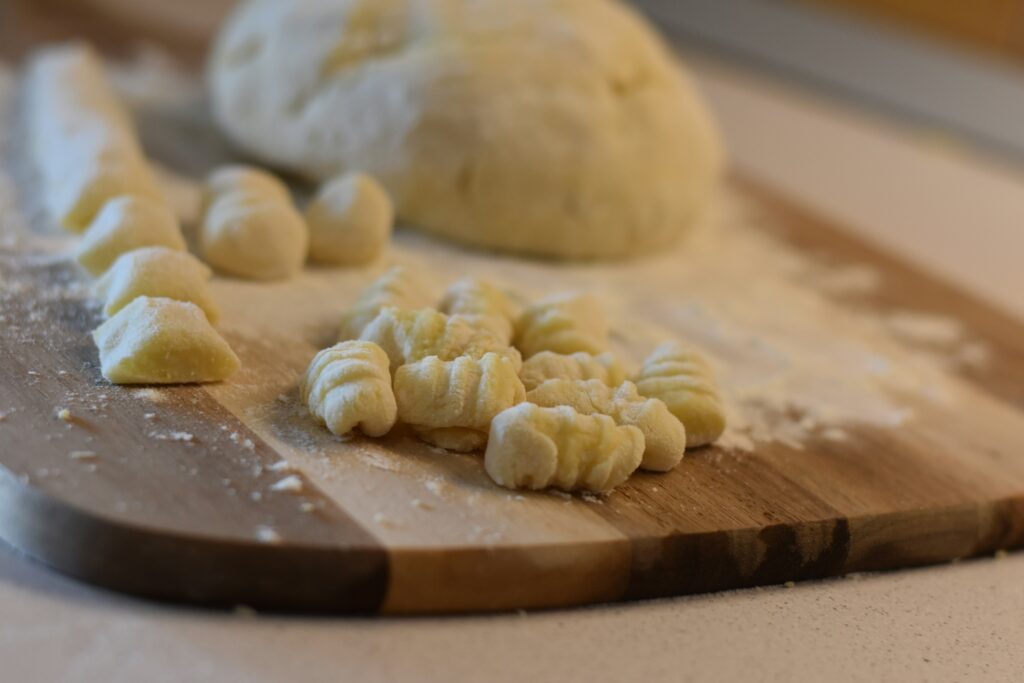
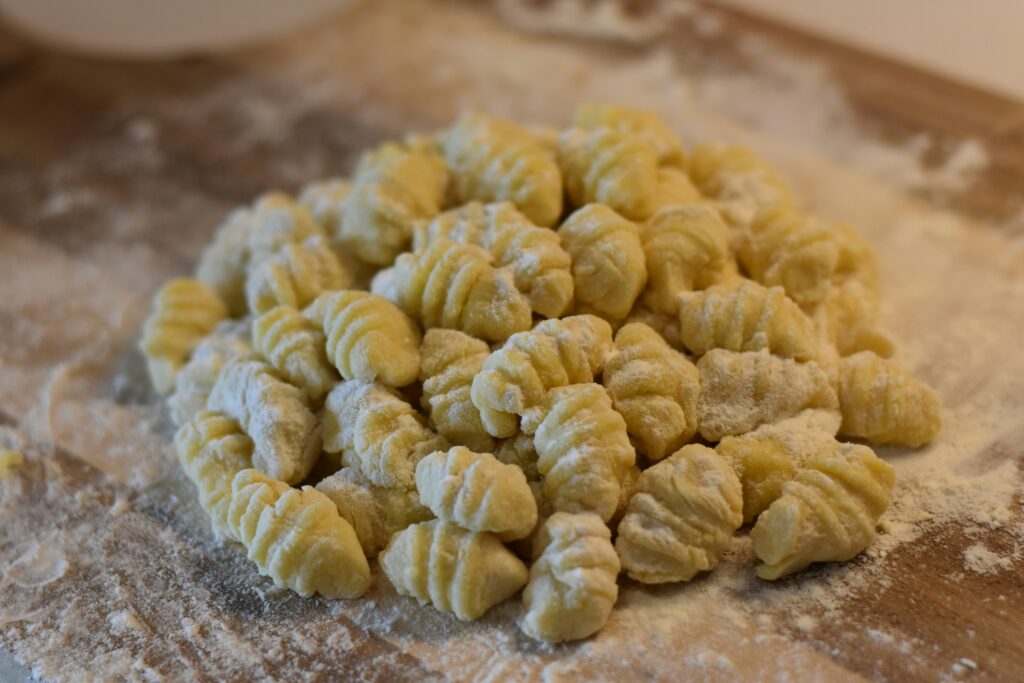
So, these little delights are more technically called Gnudi meaning “nude” in Italian, since they’re basically the filling of a ravioli without its shell. So why does it matter? It really doesn’t, but I’m going to give you the technical deets because, you’re here so why not learn something?!
Gnudi vs. Gnocchi:
Gnudi:
- Ingredients: Ricotta-based, mixed with flour and egg, sometimes with a touch of spinach or Parmesan.
- Texture: Light, creamy, and oh-so-pillowy.
- Preparation: Super simple, focusing on the delicate nature of ricotta. Boil ‘em till they float and serve with a light sauce like my 😋 Sage Brown Butter Sauce.
Gnocchi (from the Italian word “nocchio,” meaning a knot in wood, or from “nocca,” meaning knuckle):
- Ingredients: Mostly potato, mixed with flour and egg.
- Texture: Dense, chewy, and more substantial.
- Preparation: Pairs well with hearty sauces like pesto, meat ragu, or my 🤤 Bestie Alfredo aka Prosciutto Nutmeg Cream Sauce.
At the end of the day, the day gone end and they are both absolutely delicious. I personally love serving these pillowy delights tossed in a nutty sage and garlic brown butter sauce—hello, flavor town! And I don’t skimp on the freshly grated Parmesan to “garnish” either because, let’s be real, cheese is life and love in cream form. And when I’m feeling a bit fancy, I throw in some crispy pancetta bits for that extra touch of luxe. We’re living large over here, ok! Thirty(ish), flirty, and thriving! My life was meant for joy, and so is yours!
I really hope you give this recipe a go and adore it as much as I do. Let me know in the comments how you served it!

Gnudi aka Easy Herby Ricotta Gnocchi
Equipment
- 1 Bowl (optional, I make this right on the counter)
- Plastic Wrap
- 1 Fork (optional for ridges, otherwise you can just use your thumb!)
Ingredients
- 32 ounces Whole Milk Ricotta strained for an hour (14 oz.) or 14 oz. Whole Milk Impastata
- 1 large Egg
- 3/4 cup Parmesan Cheese (3.5 oz.) finely grated, + more for garnish
- 1/2 teaspoon Kosher Salt
- 1 ¾ cup All Purpose Flour (9 oz.), + more for dusting
- 1 tablespoon minced fresh herbs sage, parsley, rosemary, thyme, oregano or 1 teasponn or Bell's All Natural Seasoning
Instructions
- Place 32 oz. of ricotta in a fine mesh strainer over another bowl and strain your ricotta for 1 hour to yield 14 oz. Alternatively, buy whole milk Impastata which is just strained ricotta.
- In a large bowl, mix the strained ricotta, egg, cheese, salt, and the flour until all ingredients are incorporated. It may seem like it's not going to come together, but keep working it and trust the process. Gather every scrap of mixture into your ball.
- Cover in plastic wrap and refrigerate for 30 minutes.
- Check the dough by rolling a bit in your hand. It should be a bit tacky, but not a lot. If it clings to your fingers like bubble gum, incorporate more flour one tablespoon at a time until you reach a tacky, workable consistency. Refrigerate for another 15 minutes.
- If it’s ready to go, let’s get the water going as things move quickly from here. Before shaping, put a large pot of heavily salted water on the stove. The water should taste like a tear drop or the ocean. Bring to a roiling boil (fat, vigorously moving bubbles). DO NOT add oil to the water.
- Sprinkle a baking sheet with flour and set it close to your work space. Now, sprinkle your hands and work surface with a little flour.
- Break off a tennis-ball sized piece of the dough and roll it into a thick log about 3/4-inch thick. It helps to roll from the center outward.
- Using a bench scraper or sharp knife, cut the log into 3/4" pieces. Quick descive cuts, no sawing motion. Show that dough who's boss!
- You can leave them as little ‘pillows’ or shape them into the traditional grooved gnocchi by rolling them off the back of a fork with your thumb. Transfer to the baking sheet and toss with flour to prevent sticking. Repeat with remaining dough.
- To store gnocchi: This is a good point to freeze any gnocchi you will not be cooking. Make sure they are well coated with flavor and spaced evenly on a baking sheet. There should be no touching. Put them in the freezer until they freeze through. From there, you can gather them into a freezer bag. They can touch once frozen, but they will stick together and never come apart if they’re touching initially. Cook from frozen, no need to thaw.
- To cook gnocchi: Add half of the gnocchi to the boiling water. Gently stir the gnocchi to make sure they don't stick and then leave them alone. Once they bob to the surface they are done! Do not overcook the gnocchi, or they will become tough and eventually disintegrate in the water.
- Remove gnocchi with a slotted spoon and toss into your sauce.
- If you’re not going to throw them in sauce right away, toss with a little olive oil until you’re ready for them.
- Buon Appetito!

I am really impressed together with your writing skills and also with the layout in your
weblog. Is this a paid subject or did you customize it yourself?
Either way stay up the nice high quality writing, it is rare
to look a nice blog like this one today. Snipfeed!